Ultimate Threat |
|
|---|---|
| Type | Secondary Quest |
| Act | Lost Valley DLC |
| Location | Caer Hyfryd, Dinas Gessa |
| Reward(s) | Dominion Relations Improvement |
Ultimate Threat is a Secondary Quest from the Lost Valley DLC in Solasta: Crown of the Magister. Quests are different tasks and missions that a player can acquire and partake in throughout the game, quests are usually unlocked through the main campaign, during a series of events, or are given by certain NPCs. Completing a quest also grants various rewards that can aid the player throughout their journey. This is a Faction Quest from the Dominion. Completing this quest will increase your relationship with The Dominion.
Ultimate Threat Objectives
Talk to Orenetis
Reach the Rebellion's Headquarters
Kill Ellaria Anfarel
Kill Hendeolas Anfarel
Report to Orenetis
Ultimate Threat Walkthrough
Once you complete Under His Eyes, this quest may activate at some point.
Talk to Orenetis
Speak with Orenetis found within the Caer Hyfryd Palace.
Reach the Rebellion's Headquarters
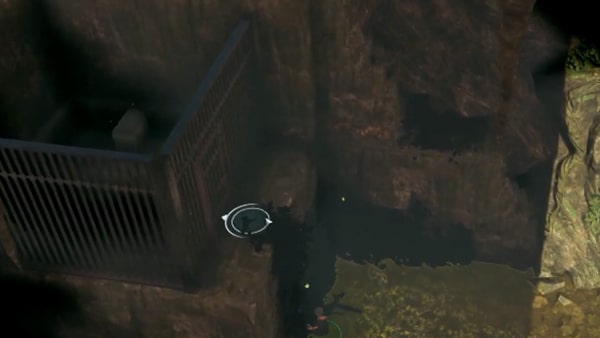
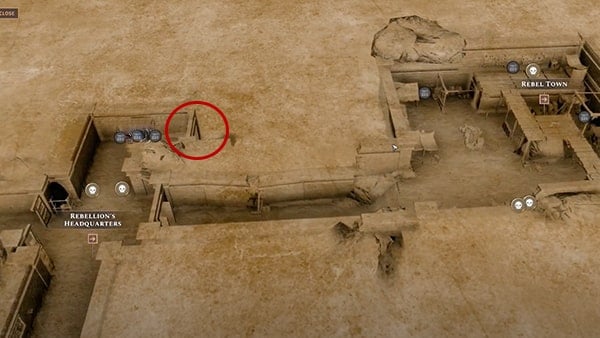
The Buried City, known as Dinas Gessa will be located west of the Swamp (Location). Exit Caer Hyfryd and travel to the Buried City. Once you arrive head north from the arrival location and follow the natural path down a flight of stairs. You can be free to explore this location if you haven't already before initiating battle. Approach the area cautiously to reveal any traps. You will be met with a few ways to proceed. If you get east and look south you will see a chest here. Be careful of another trap while you approach. You may need to be proficient with Thieve's Tools. Return to the main area.

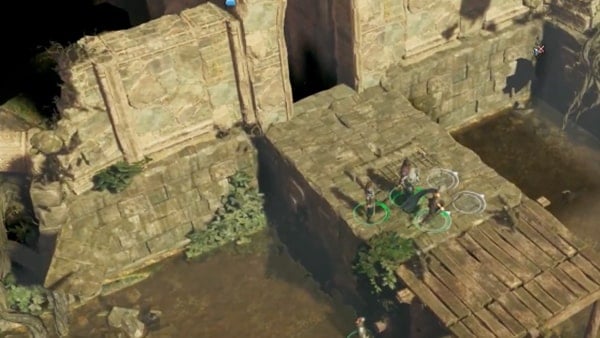
Take the path to the right (west) where the plank connects the rock platforms, so you can reach the platform north. You may send one member to the west across the two platforms in order to loot the corpse on the west platform to receive: Studded Leather, Longbow, Remarkable Arrow x13, Leave Authorization, and some coins. There will also be a crate below the platform within the marsh. Highlight the items in the area to reveal it. Beware of the trap in the area when you descend and be prepared for a battle against a few Phase Spiders that may be triggered when entering this area. This crate will contain a Strange Key. If you clear this battle and continue east, continue with caution. You will come across a cell with a trap. Enter the cell and get through the trap to loot the chest. This will contain a Scroll of Fear, Personal Journal, and an Armor piece.
Kill Ellaria Anfarel
Return east to the main stone platform and continue through the large arch north to enter the area to reach the crossroads of the Rebellion HQ. Here you will find Ellaria Anfarel. Approach to begin the first battle. You will be facing her alone. Take an aggressive stance and deploy all your attacks on her while advancing. She will be able to deal x3 attacks during her turn, but you should be able to clear her quickly. Loot the area and proceed through the set of doors north which will take you to the center area where the Rebellion's Headquarters waypoint is. This will bring you to a crossroad area that could take you to the Rebel Town Waypoint if you head east. Take the north hall where you can find some chests to loot. There should be an archway as you follow the short hall and turn the corner.
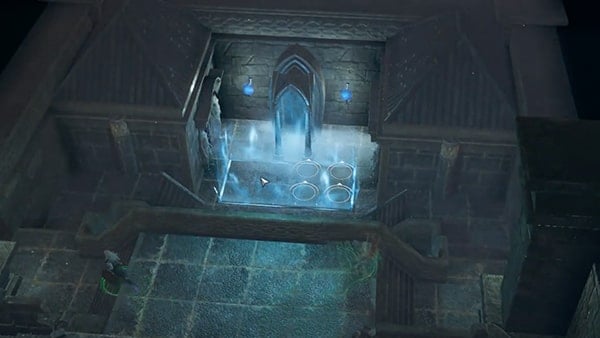
This location can also be reached by heading east from the Crossroad area where you encountered Ellaria. This will take you to the Wind Room where you will need to use the Strange Key to access. If this area has not been previously cleared, you will need to face a few elementals and a few Wind Snakes in battle. You can wait for them to approach and there clear them as they come. Prioritize cleaning the elementals in battle. Continue forward to reach the headquarters. From this location, push down the boulders so you can drop down and then continue down the hallway till it splits. Head south then continue north.

Follow the hall then head down the set of stairs where you will reach a Minor Gate. If you're looking at your map, this should be directly north of the Headquarters fast travel marker. The hall naturally leads right where you can follow it north to the minor gate exit point. This is where you will meet your next objective.

Kill Hendeolas Anfarel
From this location, you will need to face a pair of Wight Lords and mummies along with Hendeolas Anfarel. Be careful when approaching the Wight Lords since they can do damage when facing them with melee attacks. Hendeolas Anfarel also has the ability to prevent healing. They also have the ability to prevent any action while in its cloud. When clearing this battle, clear them one at a time as they approach and prioritize clearing those close to you while keeping Hendeolas Anfarel at a distance. After you have cleared him, finish off the battle and loot the area before you exit
Report to Orenetis
Once you are done, return to Orenetis in Caer Hyfryd. This will complete the quest and you will soon be able to continue the Dominion questline.
How to obtain Ultimate Threat
- Purchase and download the Lost Valley DLC in order to be able to access this quest. Complete Under His Eyes from the Dominion Faction questline in order to gain the chance to activate this quest.
Ultimate Threat Rewards and Loot
- Dominion Relations Improvement
Ultimate Threat Notes & Tips
- Notes & tips go here

